 |
| Den Haag, the Netherlands |
Showing posts with label Photography. Show all posts
Showing posts with label Photography. Show all posts
Thursday, May 23, 2013

Monday, April 22, 2013
DSLR Photography tips: How to control the blur in the background ? نصائح التصوير الفوتوغرافي: كيفية التحكم في كمية التغبيش في الخلفية
I am doing this quick review because many beginners in photography have been asking how to control the focus on the subject I am shooting. Or in other words, how to control the blur in the background of your subject that you are shooting? This review will take care of this matter using photo comparisons and shot information.
Here is an example demonstrating what I mean using the same lens, camera and distance.
هذا الشرح البسيط يخص المبتدئين في التصوير الفوتوغرافي والذي سوف يهتم بشرح طريقة التحكم في كمية التغبيش في خلفية الجسم
الذي تقوم بتصويره. كثير يتساءلون كيف اتحكم بهذا التغبيش لماذا يختلف من صورة لصورة أخرى؟
وهذا مثال على ما اقصد بإستخدام نفس العدسة والكاميرا والمسافه.


Can you see the difference between both pictures?
It is clear in the fisrt picture that the subject on the back is completely blurred. not only the subject but also the background was completely blurred in the first picture while it is completely different in the second picture. This will be explained shortly.
لاحظ الفرق في كمية التغبيش بين الصورتين. ففي الصورة العليا تلاحظ أن الجسم الخلفي مغبش تماما وايضاً الخلفية بعكس الصورة الثانية و الذي يظهر الجسم الخلفي بوضوح وكذلك الخلفية. هذا ما سوف اقوم بشرح طريقته.
In fact, I am shooting with the same lens, camera and ISO which is 100 in all pictures. The only difference is that I am changing between the shutter speed and the aperture. However, the difference in the amount of blur is changing due to changing the aperture only. So the shutter speed and everything else do not have any impact on the blur. I will explain now how this change occurs in more details.
السبب الوحيد في تغير كمية التغبيش بين الصورتين هو فقط بسبب تغيير فتحة العدسه (الابرتشر). وهذا ما قمت بتغييره بين الصورتين و أيضا قمت بتغيير سرعة الغالق ولكن ذلك ليس له أي تأثير على كمية التغبيش.
والان سوف اقوم بشرح كيف يكون هذا التغيير بطريقة اكثر تفصيلاً
The following pictures were taken with the following settings
Picture 1: Aperture 1.8
Picture 2: Aperture 2.8
الصورة التاليه تم تصويرها بالاعدادت الاتية:
صورة 1 : فتحة العدسة 1.8
صورة 2: فتحة العدسة 2.8
Click on the picture to enlarge
للتكبير اضغط على الصورة

As you can see from the above picture the difference between aperture between both pictures has a slight difference in blur that cannot be noticed in which picture one has more blurriness.
في الصورة التي في الأعلى الاختلاف في التغبيش جدا بسيط وغير ملحوظ حيث أن كمية التغبيش في صورة رقم 1 اكثر من صورة رقم 2
Next Picture
Picture 1: Aperture: 1.8
Picture 3: 4.5
الصورة التاليه:
صورة 1: فتحة العدسة 1.8
صورة 3: فتحة العدسة 4.5

Now the difference is considerable in picture 3. But the blur is still exist.
الفرق الان ملحوظ في صورة رقم 3 ولكن مازال هناك تغبيش
Next photo:
Picture 1: Aperture 1.8
Picture 4: Aperture 10
الصورة التالية:
صورة 1: فتحة العدسة 1.8
صورة 4: فتحة العدسة 10

As you can see the difference between picture 1 and 4 is very noticeable and the subject in the back started to reveal.
كما تلاحظ الفرق بين صورة رقم 1 ورقم 4 مختلفه جداً والجسم الخلفي في صورة 4 بدأ بالظهور.
Last photo:
Picture 1: Aperture 1.8
Picture 5: Aperture 22
الصورة الأخير:
صورة 1: فتحة العدسة 1.8
صورة 5: فتحة العدسة 22

Now you can see that the blurriness in picture 5 has gone completely! This is to say, the more aperture you set your camera the less blurriness you get. For example, aperture 1.8 make more blurriness than aperture 5.6.
I hope I made it clear for you how to control the amount of blurriness or the so-called (depth of field) and I wish you a good time taking photos using this method!.
كما هو واضح الان الفرق بين صورة 1 وصورة 5 حيث أنه لايوجد تغبيش في الخلفية في صورة 5.أعني أنه كلما زادت اعدادت فتحة العدسة كلما قل التغبيش. فمثلا فتحة عدسة 1.8 تحدث تغبيش في الخلفية اكثر من فتحة 5.6.
اتمنى ان يكون هذا الشرح البسيط قد اوضح لكم الصورة في كيفية التحكم بكمية التغبيش.
Sunday, April 14, 2013


Wednesday, April 10, 2013

Monday, April 8, 2013

Michael Kors Watch
Click on the photo to view large image |
| Michael Kors, Photographed by Amro Mahsoon |
Sunday, March 31, 2013


Saturday, March 30, 2013


Friday, March 29, 2013


Wednesday, March 27, 2013


Friday, March 1, 2013

Monday, December 17, 2012

Saturday, December 15, 2012

Tuesday, December 11, 2012
Nature
Sunshine
Took it maastricht
Canon 550d
Color corrected with PS CS6

Goose, Took it in Maastricht
edited in PS CS6

Thursday, December 6, 2012


Saturday, November 17, 2012
Night Shots
Some night shots to test my 50mm 1.8 lens on the Canon Rebel t2i/550d


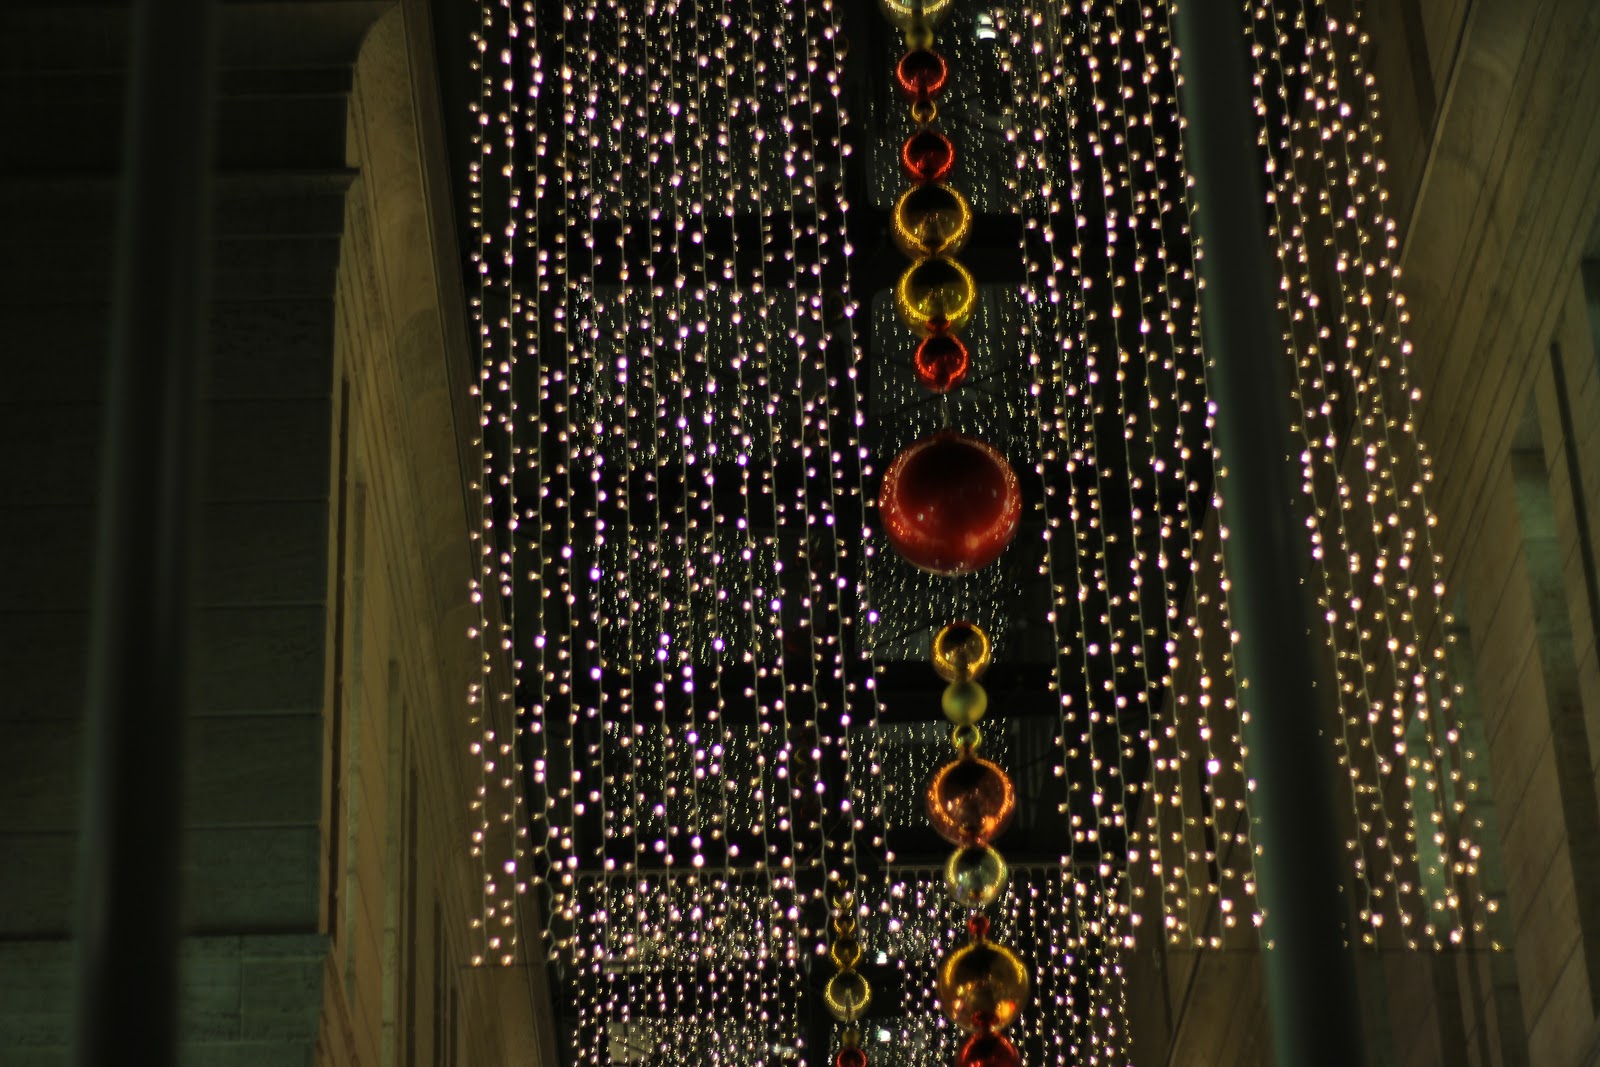

I would say, when making a video at low light condition it must do a very good job!
Saturday, November 10, 2012
Canon 550d Photos
I included some photos taken by me using the Canon 550D
Hope you all like it
Please watch in HD and do not forget to rate, comment and subscribe
Thank you for watching
Thursday, November 8, 2012
Nature shots
In this post, I would include some shots of nature as I will also use different styles in these photos.
Please click on the picture to enlarge
 |
| Maastricht, #1 |
 |
| Maastricht, #2 |
 |
| Maastrich, #3 |
 |
| Maastricht, #4 |
 |
| Maastricht #5 |
 |
| Maastrich, #6 |
 |
| Maastricht, #7 |
 |
| Maastricht #8 |
 |
| Maastricht, #9 |
 |
| Maastrich, #10 |
 |
| Maastricht, #11 |
 |
| Maastricht, #12 |
 |
| Maastricht, #13 |
Enjoy it
Leave your comment and iLike or iDislike below please
Subscribe to:
Posts (Atom)